
Start with the car you have
We found drawer blueprints through The Adventure Index that were made for our fourth-generation 4Runner. We built the kitchen ourselves. Having plans for our exact car worked out really well.
Ready when we were
The benefit we remember most was keeping our camping kitchen and gear loaded. If we wanted to hop in the car and go, the setup was already there.

The canyon near Julian was our trial run for the new kitchen. We were still figuring out the vehicle setup and using our first tent, which was much more cumbersome to put up than the Gazelle we bought later.
We arrived late, and dinner on the BioLite wood stove took a while. It generated power well, but as a stove it heated slowly and needed constant feeding. The drawers worked great; we spent much longer cooking than opening the kitchen.

A few changes along the way
That first trip taught us more than the stove alone. It was so cold that night that we built a wood fire, even though we were in a no-fire area. We almost got in trouble for it, and it was not responsible. Afterward we bought a propane fire pit. Read the fire pit story →
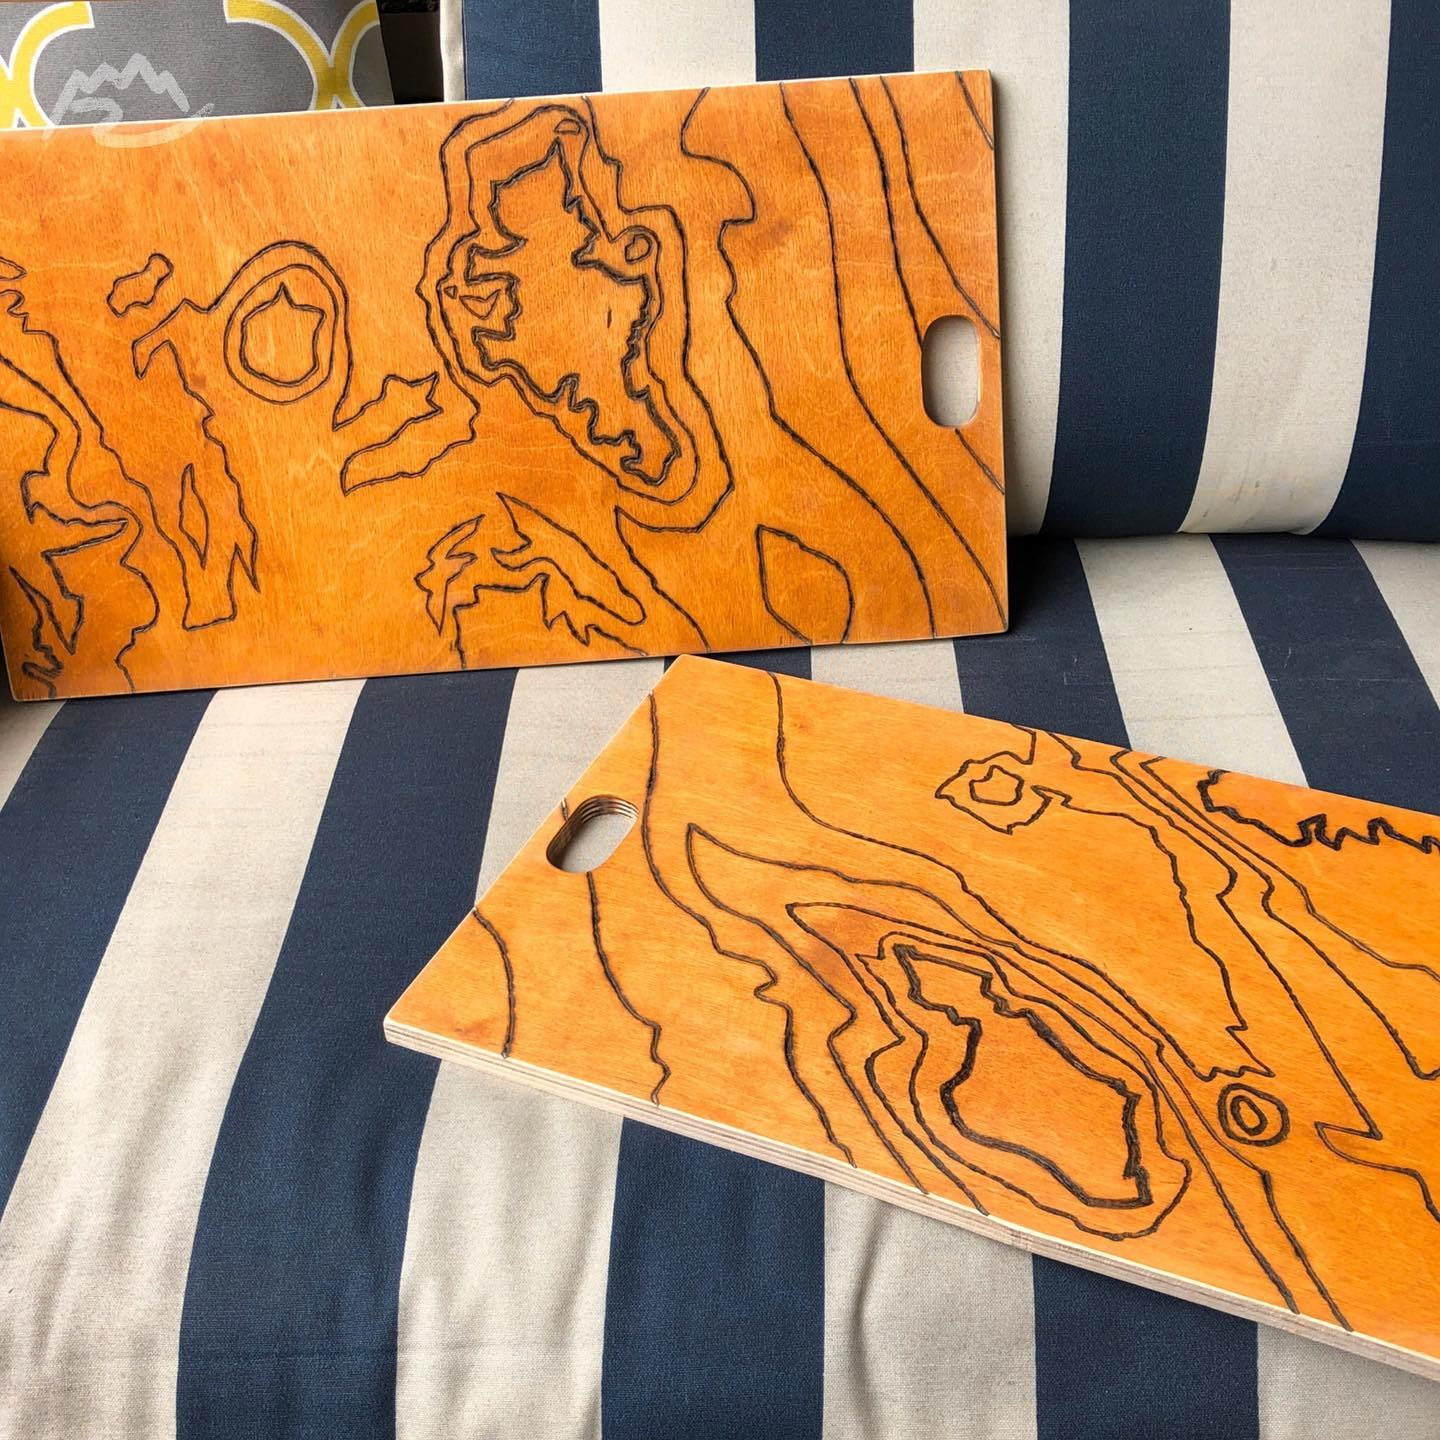
After that outing, we moved the latches from the outer edges of the drawers toward the center. That let us open either drawer without reaching across. My wife woodburned a topographic map of Catalina Island into the drawer fronts with a soldering iron.
Later we replaced the YETI cooler with a SnoMaster fridge on a DFG Offroad slide. An orange EEZY Supplies tray attached to the fridge, with a Cook Partner stove behind it.
From our photo archive
From plywood to a kitchen
The drawer fronts, the work surface and the finished setup are all in our August 2019 build post. The plans came from The Adventure Index; we did the build and my wife added the Catalina Island design. These photos show the later kitchen, after the first Julian trip.
Select a photo to view the full frame.
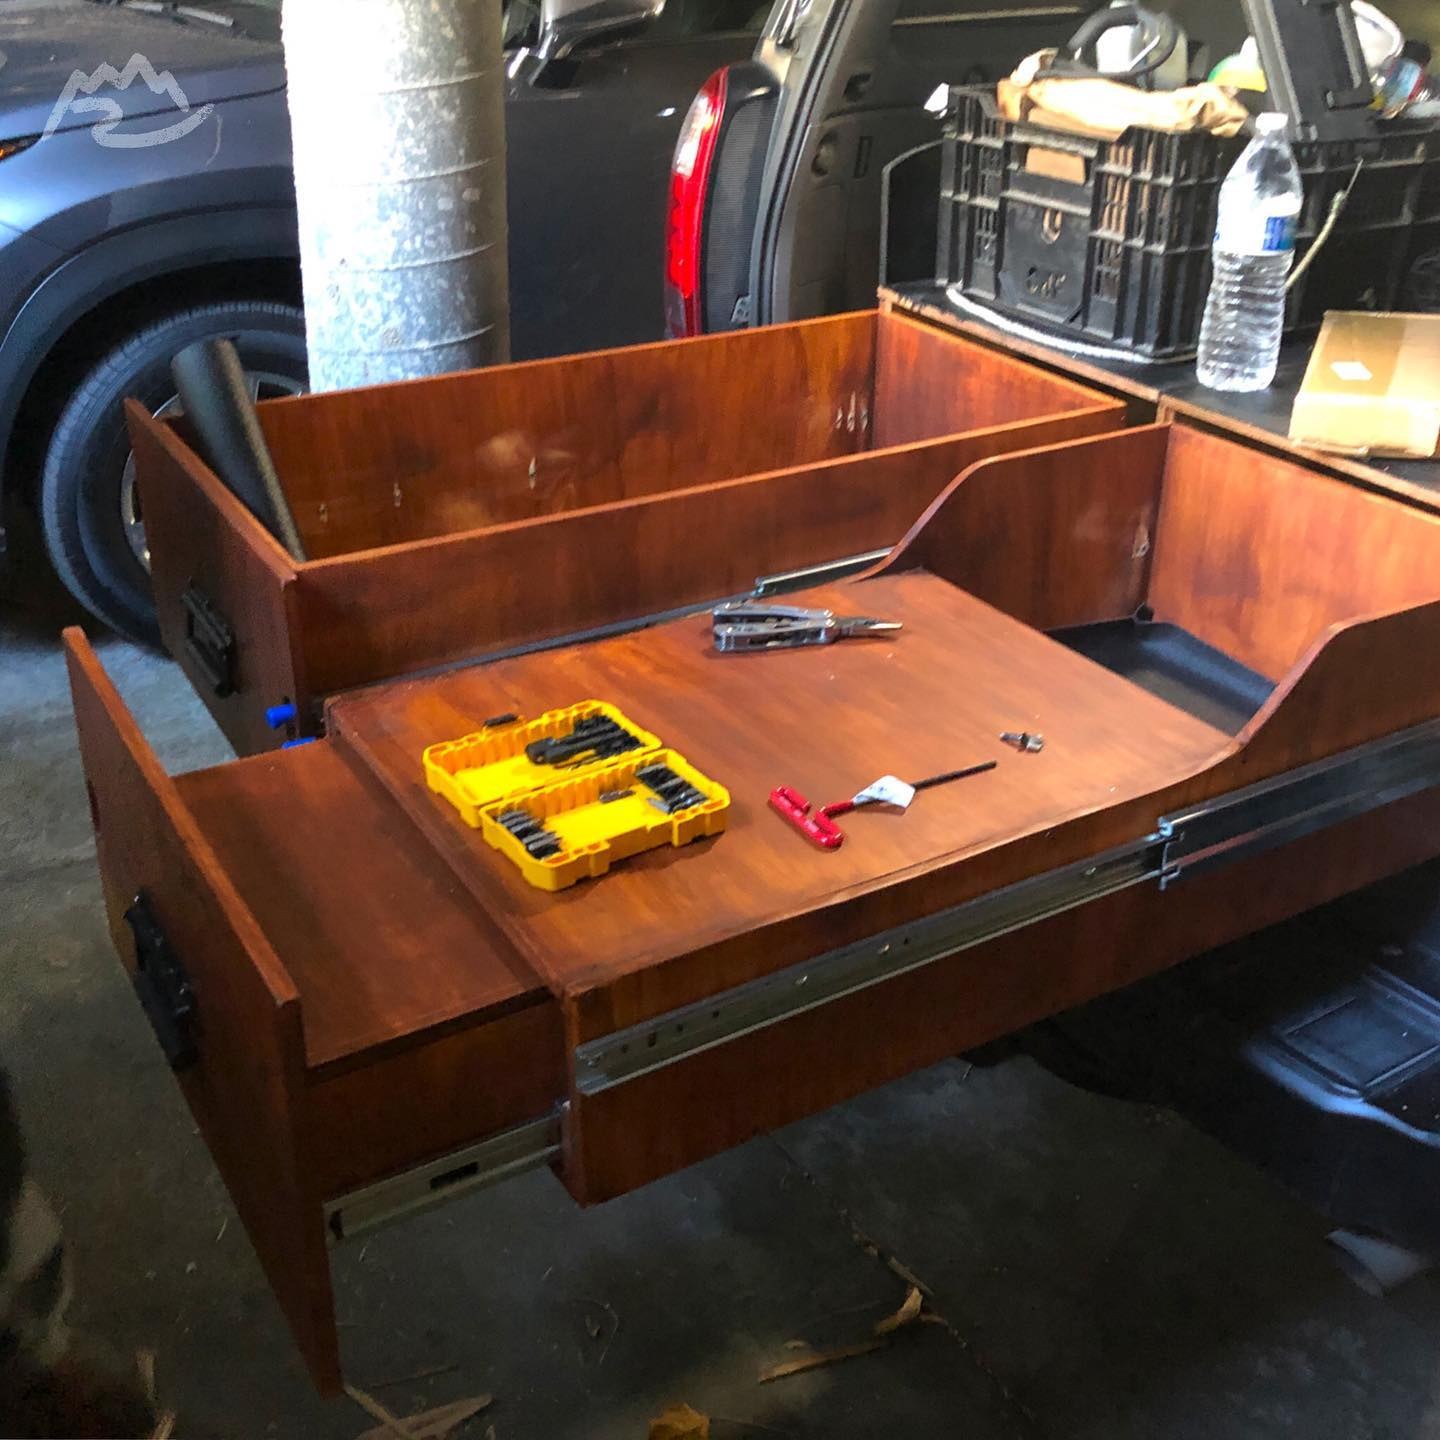
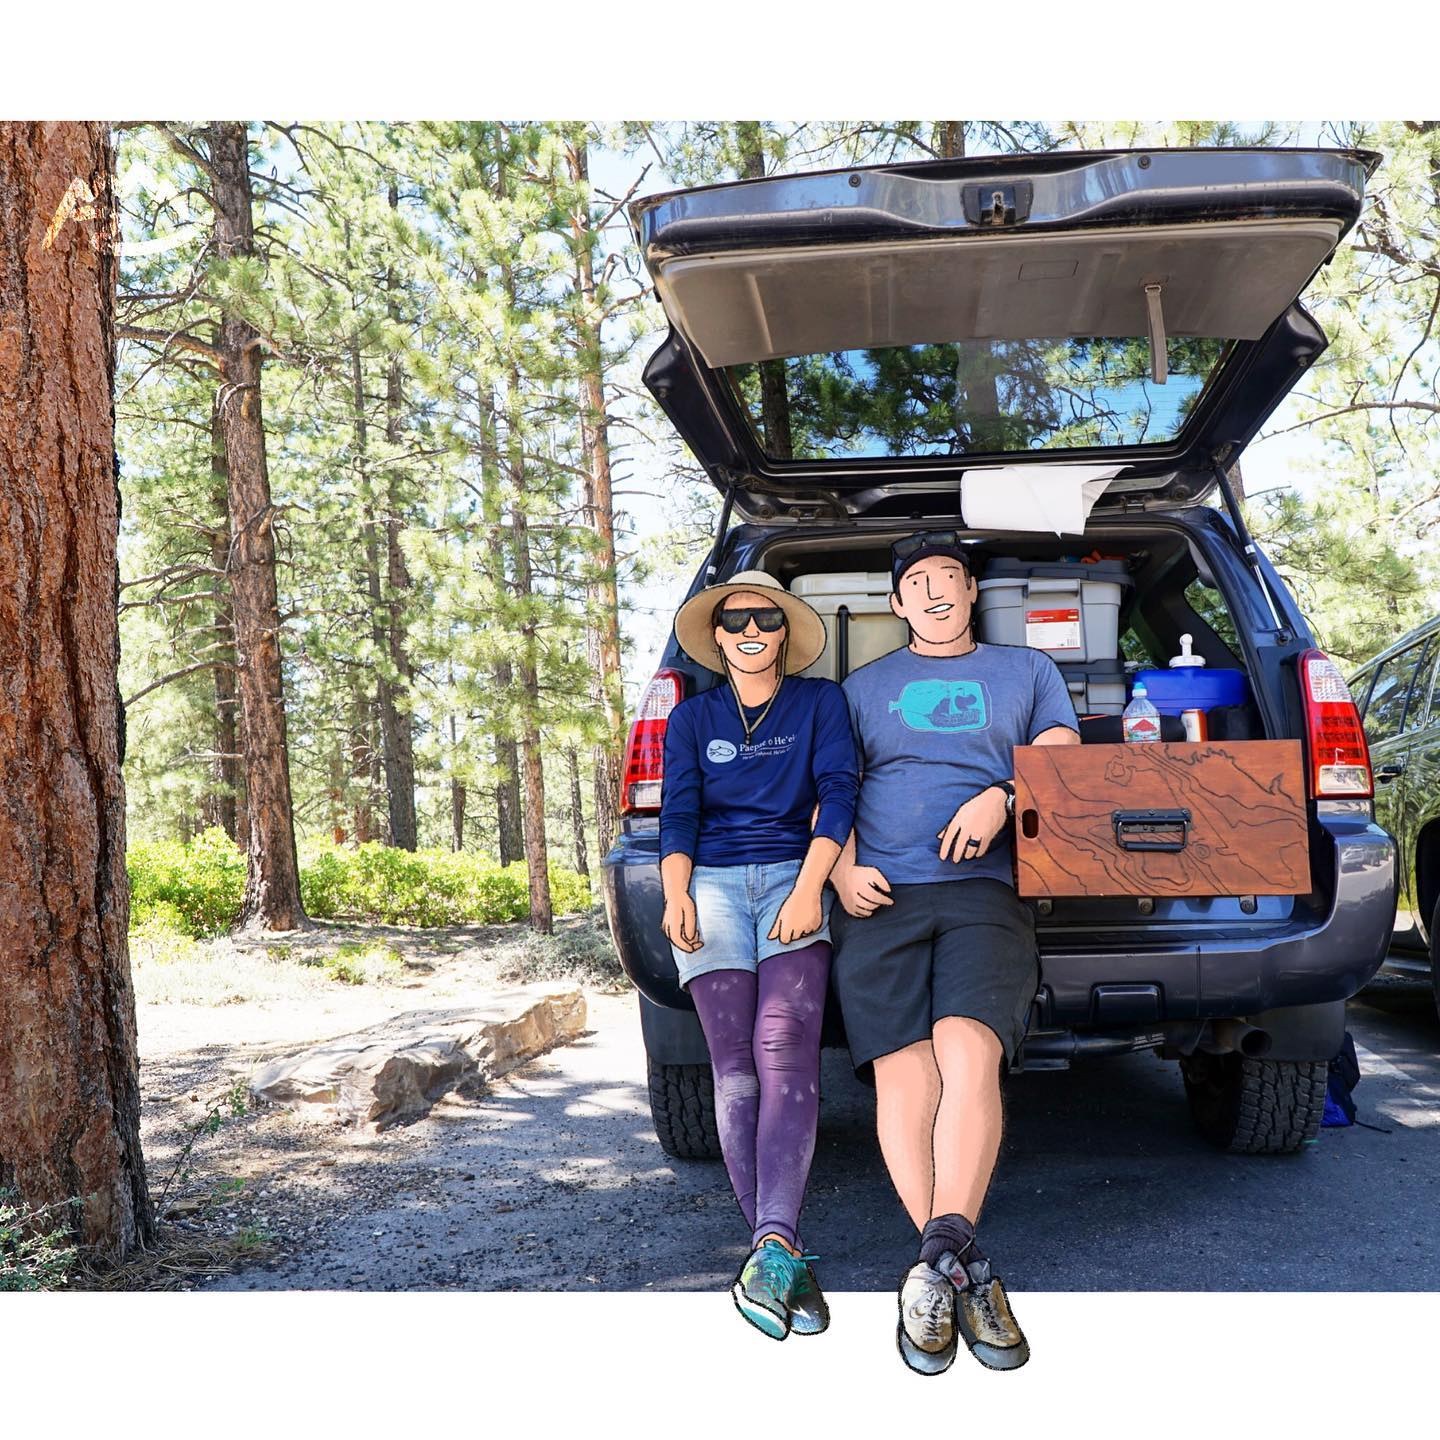
The February 2021 kitchen photo also credits The Adventure Index. It is a different equipment snapshot from the early trip with the Yeti cooler and BioLite wood stove.
Planning your own setup? Compare stove, slide and utility-tray fit, then weigh an ice cooler against powered refrigeration.
Another packing problem: the garage
In April 2021, we celebrated a new Pelican recovery-gear box because it cleared the garage entrance. That’s another part of a useful setup: how it fits at home as well as at camp.
What this story can tell you
This is our experience with a historical setup. We know why we moved the latches, but have not recorded the drawer dimensions or a complete inventory. Use this as a look at what worked for us, rather than a set of build instructions.
Planning your own kitchen
Start with the space available when the drawer is both closed and extended. Partner Steel’s current 22-inch two-burner Cook Partner measures 12 × 22 × 3.5 inches and weighs 17 lb, with 12-inch burner spacing. It is a current comparison, not a confirmed match for our photographed stove.
That footprint helps you check drawer clearance and pan placement. For a fridge, add room for ventilation, opening the lid and routing power cables, and consider a slide if the fridge is heavy: ours made a heavy SnoMaster manageable, though its exact model and power draw still need confirmation.
Check manufacturer stove sizes and options → · See the later kitchen photo and full equipment notes →